Introduction
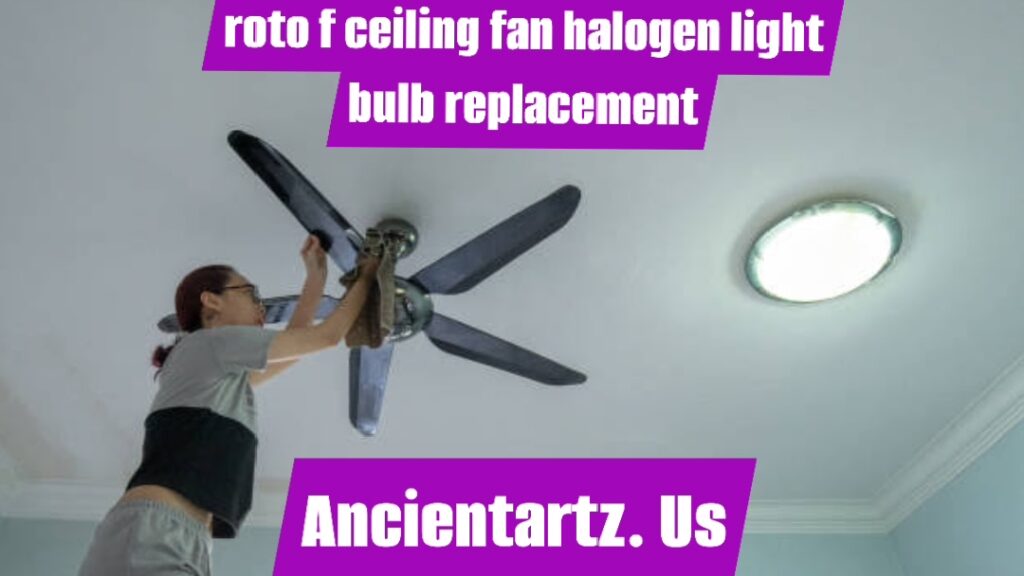
Replacing a roto f ceiling fan halogen light bulb replacement in a Roto ceiling fan might seem like a daunting task at first glance, especially if you’re unfamiliar with the specific nuances of ceiling fan designs and lighting fixtures. However, with the right tools, a clear understanding of the process, and some basic safety measures, this seemingly complicated task can be performed efficiently by virtually anyone. Halogen bulbs are known for their bright illumination and energy efficiency, but like all bulbs, they eventually burn out and need replacement. Ensuring proper installation of the replacement bulb not only restores optimal lighting but also helps maintain the fan’s aesthetic appeal and functional integrity. This guide will walk you through the process in a comprehensive manner, covering everything from the necessary preparation to troubleshooting common issues that may arise during or after the replacement process.
Before diving into the step-by-step details, let us first understand why halogen bulbs are often used in ceiling fans like the Roto model. Halogen bulbs emit a crisp, white light that is ideal for illuminating rooms evenly. Their compact design makes them suitable for ceiling fan light kits, which often have limited space for larger bulbs. Additionally, halogen bulbs tend to be more energy-efficient compared to traditional incandescent bulbs, providing a balance of performance and energy savings. Despite these advantages, their lifespan is finite, necessitating periodic replacements.
This article not only focuses on the replacement procedure but also discusses the tools and safety measures required to complete the task smoothly. By following these guidelines, you can avoid potential damage to the fan or bulb and minimize any risks associated with electrical work. Whether you are a seasoned DIY enthusiast or a beginner, this guide is designed to equip you with all the necessary knowledge and confidence to tackle this maintenance task effectively.
Essential Tools and Preparations
Before you start the bulb replacement process, gather the essential tools and materials. Having everything ready in advance can save you time and prevent interruptions. For this project, you will need a compatible halogen bulb for your Roto ceiling fan, a sturdy ladder, a pair of gloves, a screwdriver, and a clean microfiber cloth. It is also advisable to consult the user manual of your ceiling fan to confirm the bulb specifications and any model-specific instructions.
Safety should be a top priority during this task. Ensure that the fan is turned off and that the power supply to the fixture is disconnected from the circuit breaker. This precaution reduces the risk of electric shock and prevents the fan blades from moving while you work on the light kit. Moreover, using gloves while handling the bulb prevents skin oils from transferring onto the glass surface, which can compromise the bulb’s performance and lifespan.
In the following sections, we will delve into the detailed steps of replacing the halogen bulb in a Roto ceiling fan. Each step is designed to ensure maximum safety and efficiency, with explanations that simplify even the most intricate aspects of the process.
Step-by-Step Guide to Replacing the Halogen Bulb
Identifying the Type of Halogen Bulb
Understanding the type of roto f ceiling fan halogen light bulb replacement required for your Roto ceiling fan is crucial. Halogen bulbs come in various shapes, wattages, and base types, and using an incorrect bulb can lead to performance issues or damage to the light kit. The most common types include GU10, G9, and MR16, among others. Check your fan’s user manual or the markings on the old bulb for specific details. If the manual is unavailable, carefully examine the bulb socket for any labels indicating the bulb type and wattage.
Removing the Light Kit Cover
The light kit cover, often referred to as the globe or shade, protects the bulb and adds to the aesthetic appeal of the fan. To access the halogen bulb, you need to remove this cover. Use a screwdriver to loosen any screws securing the cover to the fixture. Some models may have a twist-and-lock mechanism instead. Carefully support the cover with one hand while loosening the screws to prevent it from falling. Place the cover on a soft surface to avoid scratches or breakage.
Extracting the Burnt-Out Bulb
Once the cover is removed, locate the burnt-out roto f ceiling fan halogen light bulb replacement. Halogen bulbs are often held in place by a pin or bayonet base. Gently push down and twist the bulb counterclockwise to release it from the socket. If the bulb feels stuck, do not use excessive force, as this can damage the socket. Instead, wiggle the bulb gently until it loosens. Always wear gloves during this step to protect the bulb socket and avoid direct contact with your skin.
Installing the New Halogen Bulb
Take the new halogen bulb out of its packaging and inspect it for any visible defects. Using your gloved hand, align the bulb’s base with the socket and gently insert it. Twist the bulb clockwise until it is securely in place. Ensure that the bulb is seated correctly and that there is no wobbling, as improper installation can lead to flickering or malfunction.
Reattaching the Light Kit Cover
After the new bulb is installed, reposition the light kit cover over the bulb. If your fan uses screws to secure the cover, tighten them carefully to avoid over-tightening, which can crack the cover. For twist-and-lock covers, ensure that the mechanism clicks into place securely. Double-check that the cover is aligned properly and that there are no gaps or loose parts.
Testing the New Bulb
Restore the power supply to the ceiling fan and turn on the light switch to test the new bulb. Observe the bulb for any signs of flickering or uneven illumination. If the light functions correctly, your replacement task is complete. If issues persist, verify that the bulb is installed properly and that the socket is not damaged.
Troubleshooting Common Issues
The Bulb Does Not Light Up
If the new bulb fails to light up, check the power supply to ensure that it is connected and operational. Test the bulb in a different fixture to confirm that it is not defective. Additionally, inspect the fan’s wiring and the bulb socket for signs of damage or loose connections.
Flickering or Dim Lighting
Flickering or dim lighting may indicate a loose bulb or a faulty socket. Turn off the power supply and re-seat the bulb securely. If the issue persists, consider seeking professional assistance to inspect the electrical components of the fan.
Conclusion
Replacing the roto f ceiling fan halogen light bulb replacement in a Roto ceiling fan is a straightforward task that can significantly enhance the functionality and appearance of your fan. By following the step-by-step instructions outlined in this guide, you can perform the replacement safely and effectively. Regular maintenance, including timely bulb replacements, ensures that your ceiling fan continues to operate at its best while providing optimal lighting for your space.
In summary, the key steps involve identifying the correct bulb type, safely removing the old bulb, and installing the new one with care. Attention to detail and adherence to safety precautions are essential throughout the process. By mastering this maintenance skill, you can save time and money while prolonging the life of your ceiling fan.
FAQs
1. How often do halogen bulbs need to be replaced in a ceiling fan? Halogen bulbs typically last between 2,000 and 4,000 hours, depending on usage. Replace them as soon as they show signs of dimming or burn out completely.
2. Can I replace a halogen bulb with an LED bulb in my Roto ceiling fan? Yes, you can replace a halogen bulb with an LED bulb, provided the LED bulb is compatible with the fan’s socket and wattage specifications.
3. Why should I wear gloves while handling halogen bulbs? Skin oils can cause hot spots on the bulb’s surface, leading to uneven heating and reduced lifespan. Gloves prevent this and ensure safe handling.
4. What should I do if the light kit cover is stuck? If the cover is stuck, apply gentle pressure while attempting to twist or unscrew it. Avoid using excessive force, as this can damage the cover or the fan.
5. Is it safe to replace the bulb without turning off the power supply? No, always turn off the power supply at the circuit breaker to avoid the risk of electric shock or injury during the replacement process.
Also Read This: How to Replace the Halogen Light Bulb in a Roto Ceiling Fan